Comprehensive Codex Practical Guide for Developers
Hello, I’m Sunday.
Recently, I’ve been inundated with the same question:
How do you use Codex?
With CLI, App, and VS Code plugins available, it seems straightforward. However, terms like plugins, skills, MCP, automations, AGENTS.md, sub-agents, and permission modes can be overwhelming.
You just want help fixing a bug, but it feels like you’re learning a new profession.
So, I spent an afternoon revisiting Codex and recorded a comprehensive video.

After recording, I realized that many important points could easily be overlooked just by watching the video. Especially the prompt templates, permission boundaries, version management, context management, and when to allow Codex to read-only or modify code.
If these points aren’t documented, they can be quickly forgotten.
Thus, I decided to organize the video’s content into this article. While I can’t claim authority, I believe this guide can help programmers and those using Codex, Claude Code, Cursor, and similar tools avoid many pitfalls.
This article will cover:
- Codex’s three main entry points
- Important considerations when using Codex
- Permission modes
- Best practices for Codex
- The relationship between prompts and token consumption
- Multimodal capabilities
- Version management
- Context management
- Long-term memory
- Skills
- Plugins
- MCP
- Automation
- A complete case study
- My commonly used Codex command templates
- Easter eggs
Let’s get started!
Codex’s Three Main Entry Points
Now, let’s talk about Codex itself. Currently, Codex has three main entry points:
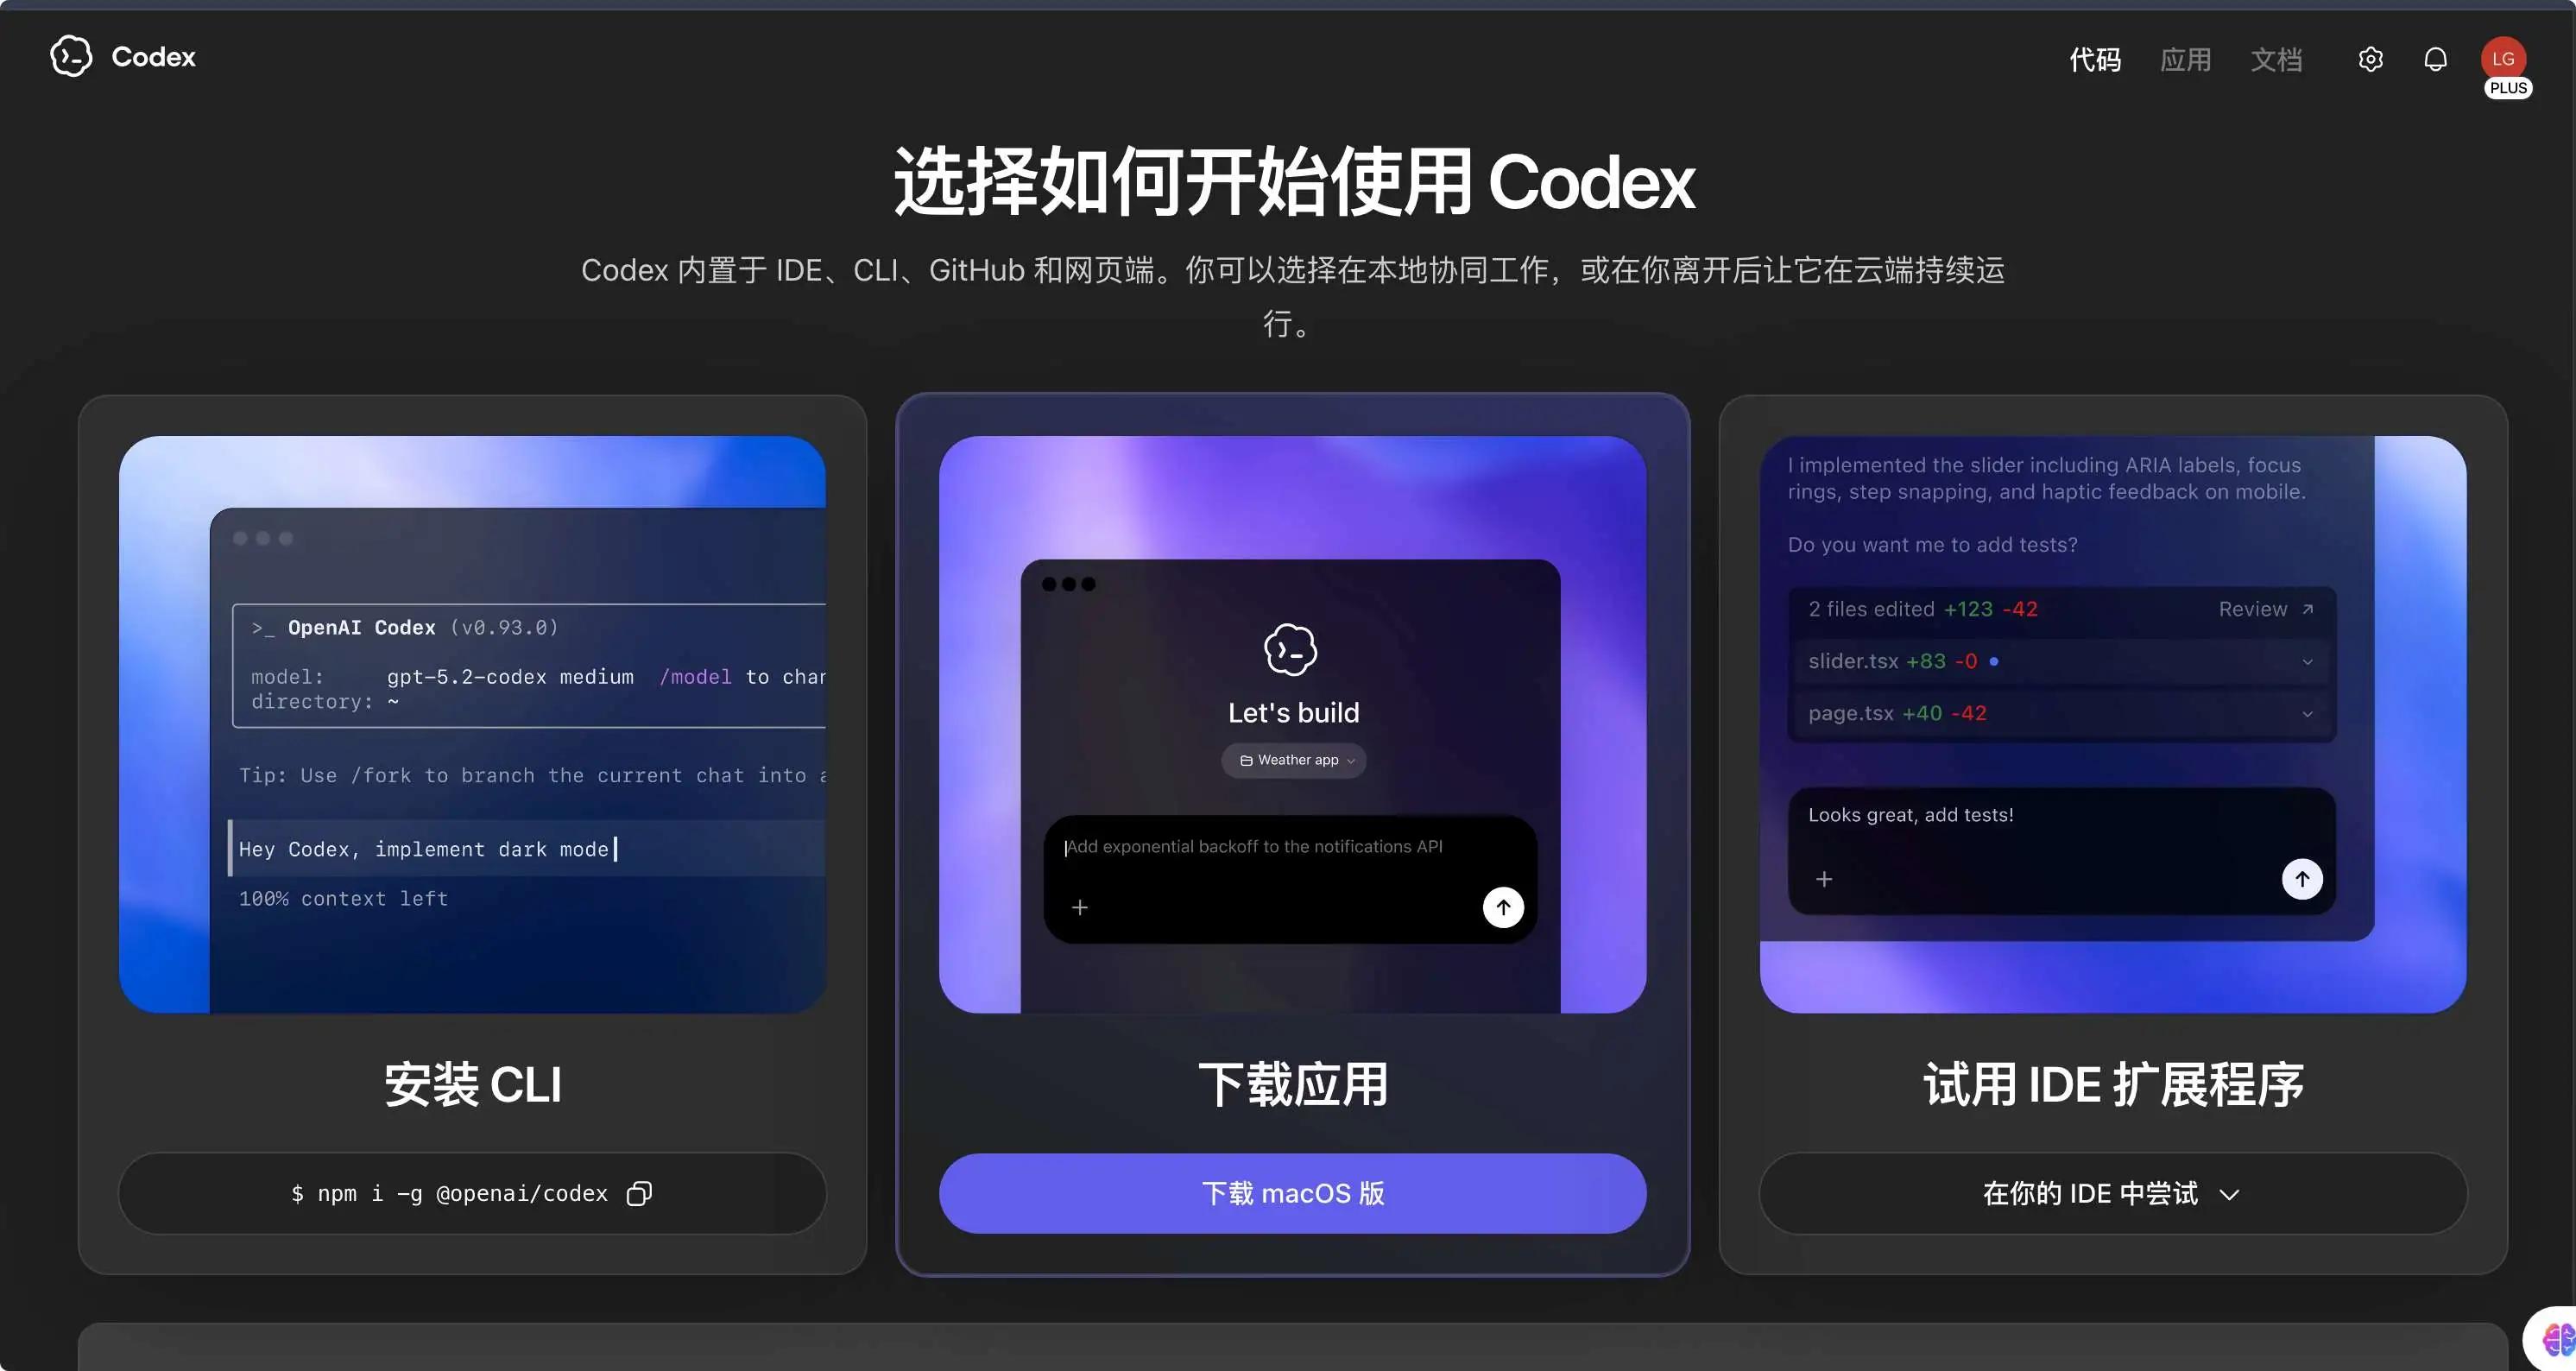
- Codex CLI
- Codex App
- Codex IDE Plugin
Let’s discuss each one.
First is Codex CLI.
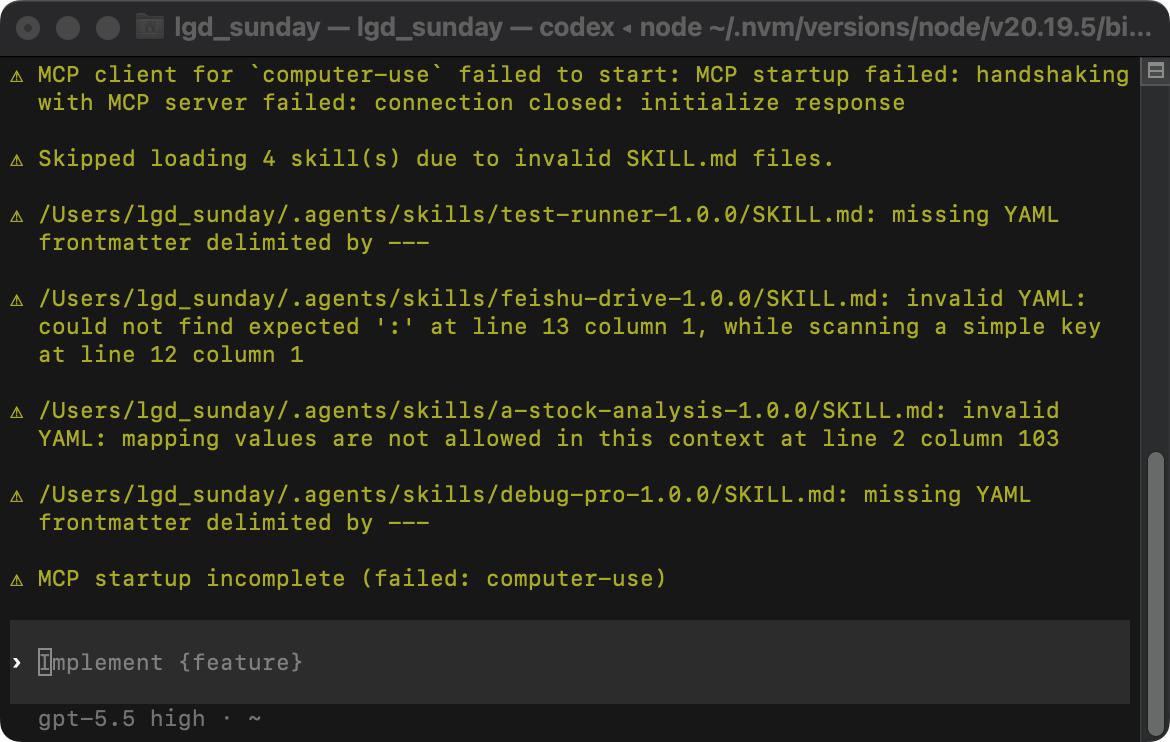
This is the command-line version. If you’re a programmer, you can install it directly via npm:
npm install -g @openai/codex
After installation, input:
codex
to start it.
To update, you can use:
codex --upgrade
The advantage of CLI is its lightweight and direct nature, making it suitable for terminal users. It works based on the project directory you open.
When introducing Codex to a project for the first time, let it read the project first. My typical prompt is:
Please read the current project structure without modifying any code.
Tell me:
1. What is this project about?
2. What technology stack is used?
3. Where is the entry file?
4. What are the start, build, and test commands?
5. If I want to add a new feature, where should I start?
This habit is crucial. Many users fail with Vibe Coding not because the model is inadequate, but because they rush to have it modify code. It’s no surprise they encounter issues.
The Second Entry is Codex App
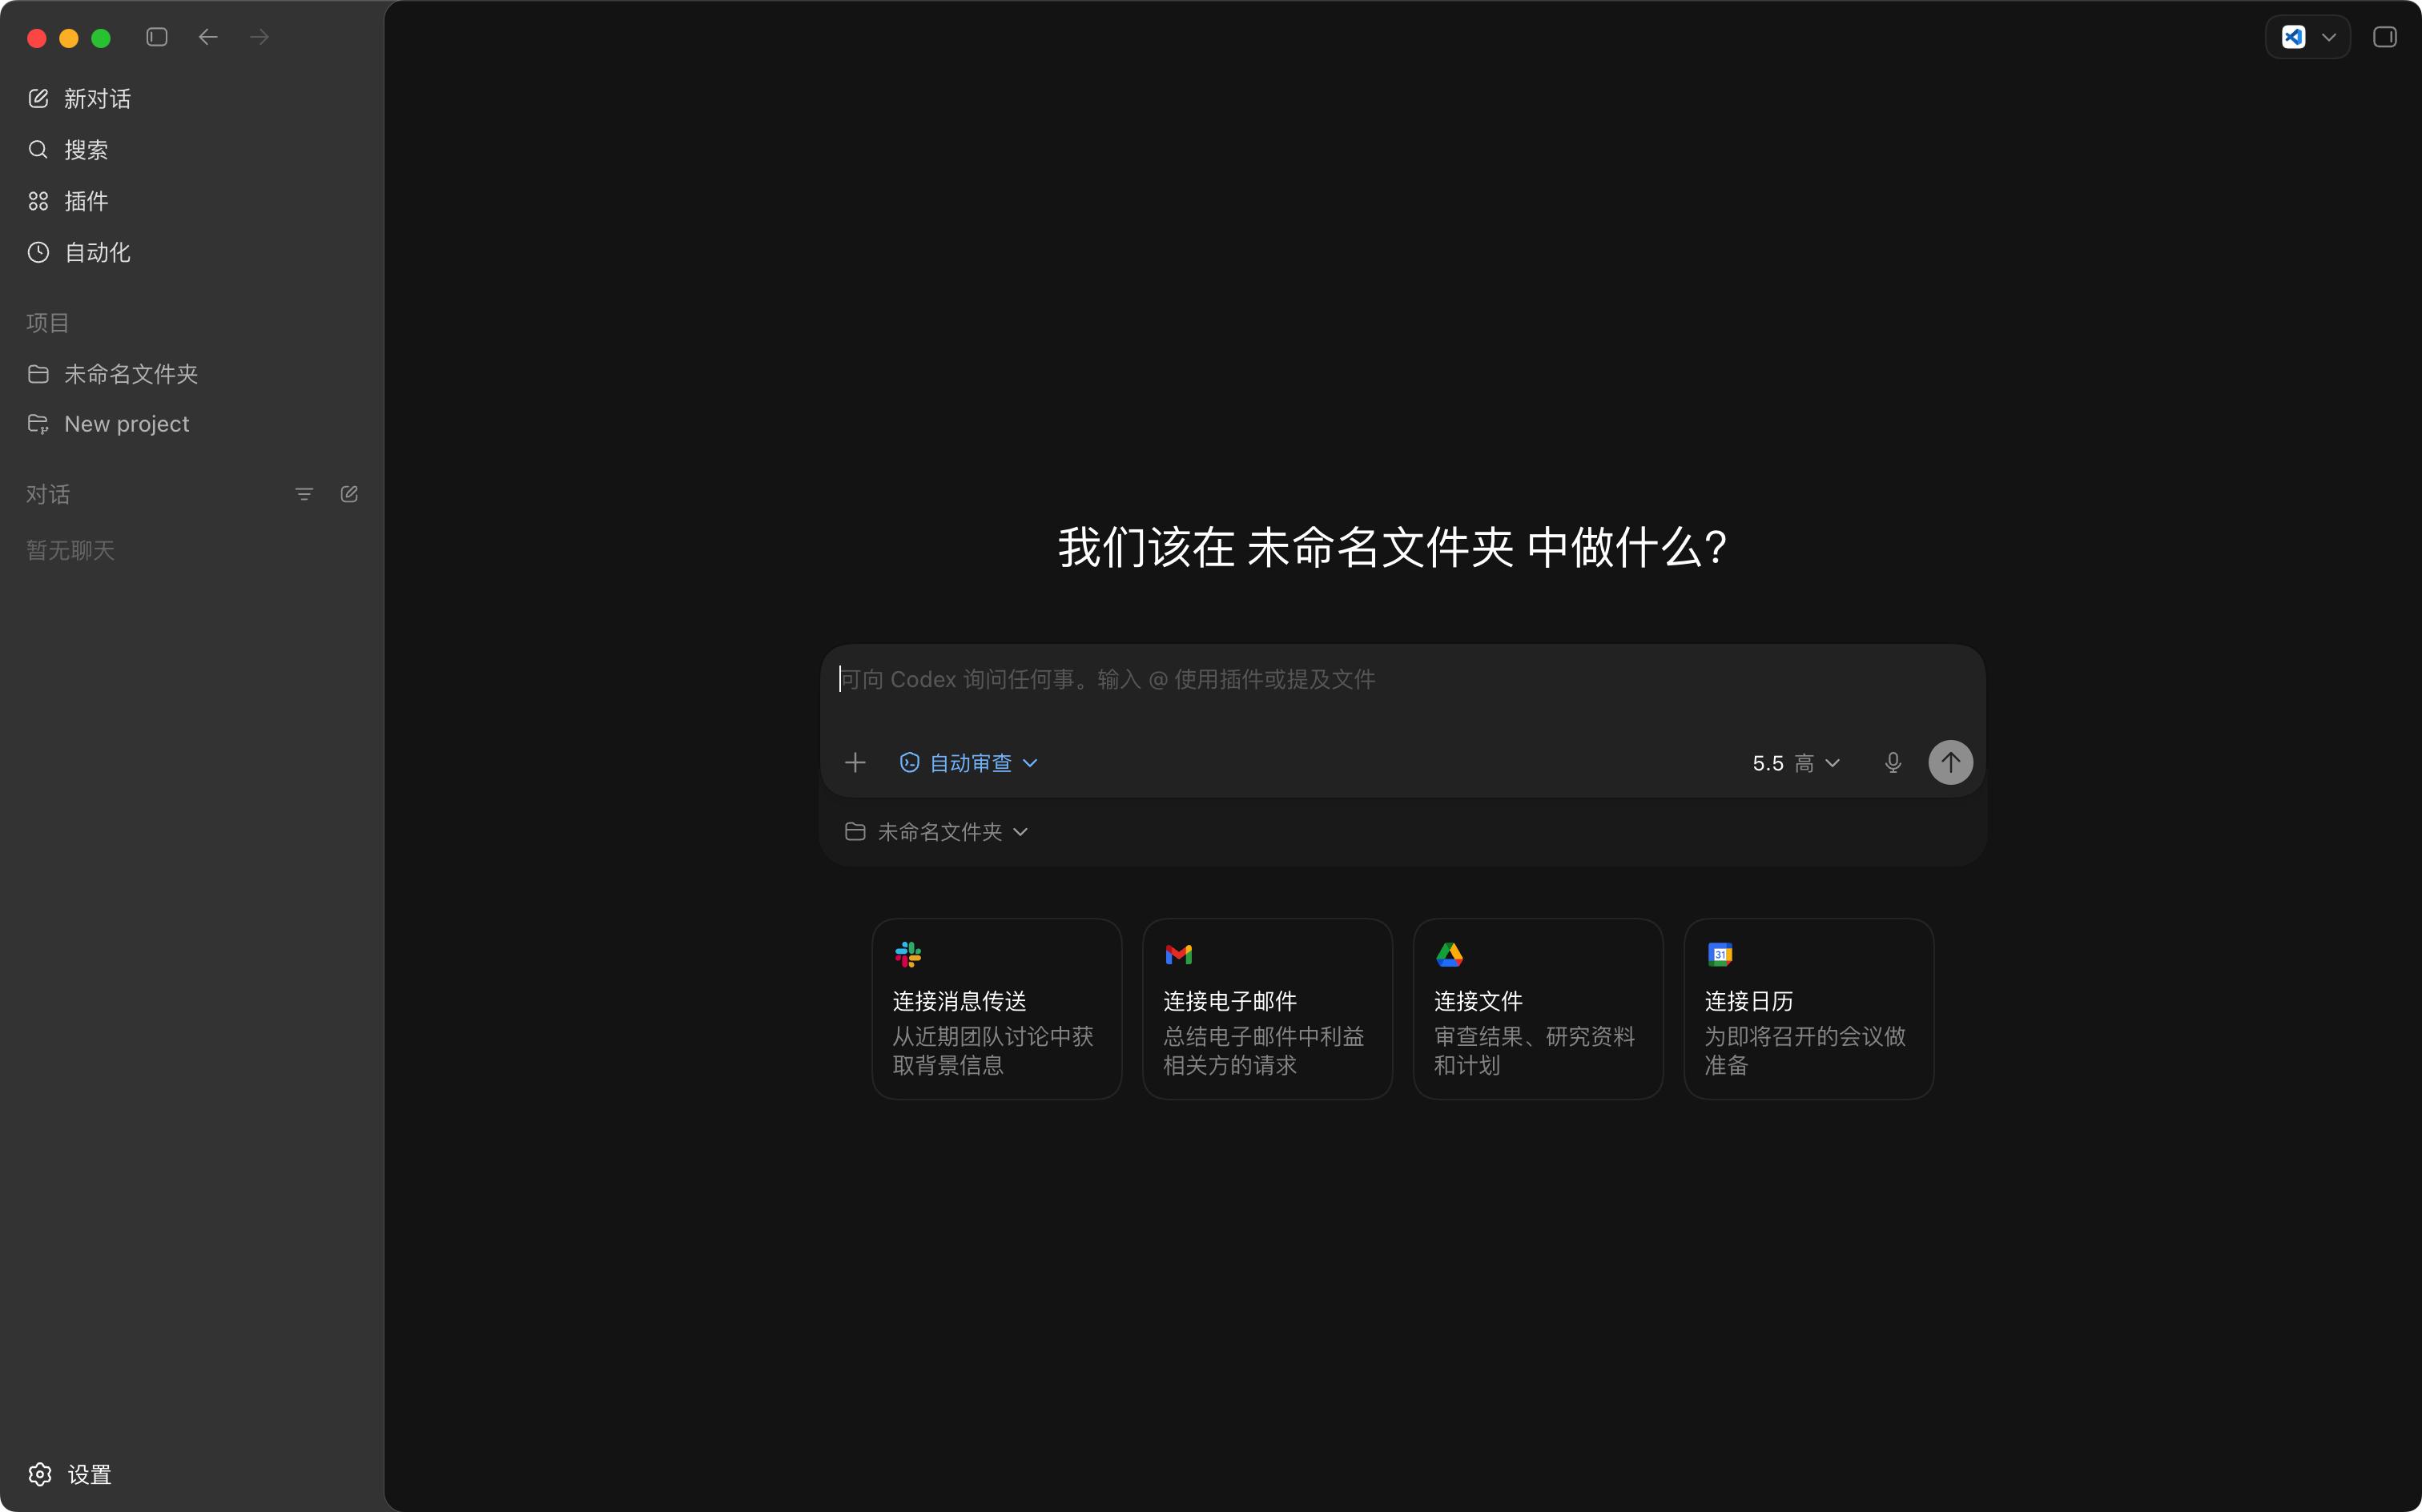
I find this more suitable for beginners.
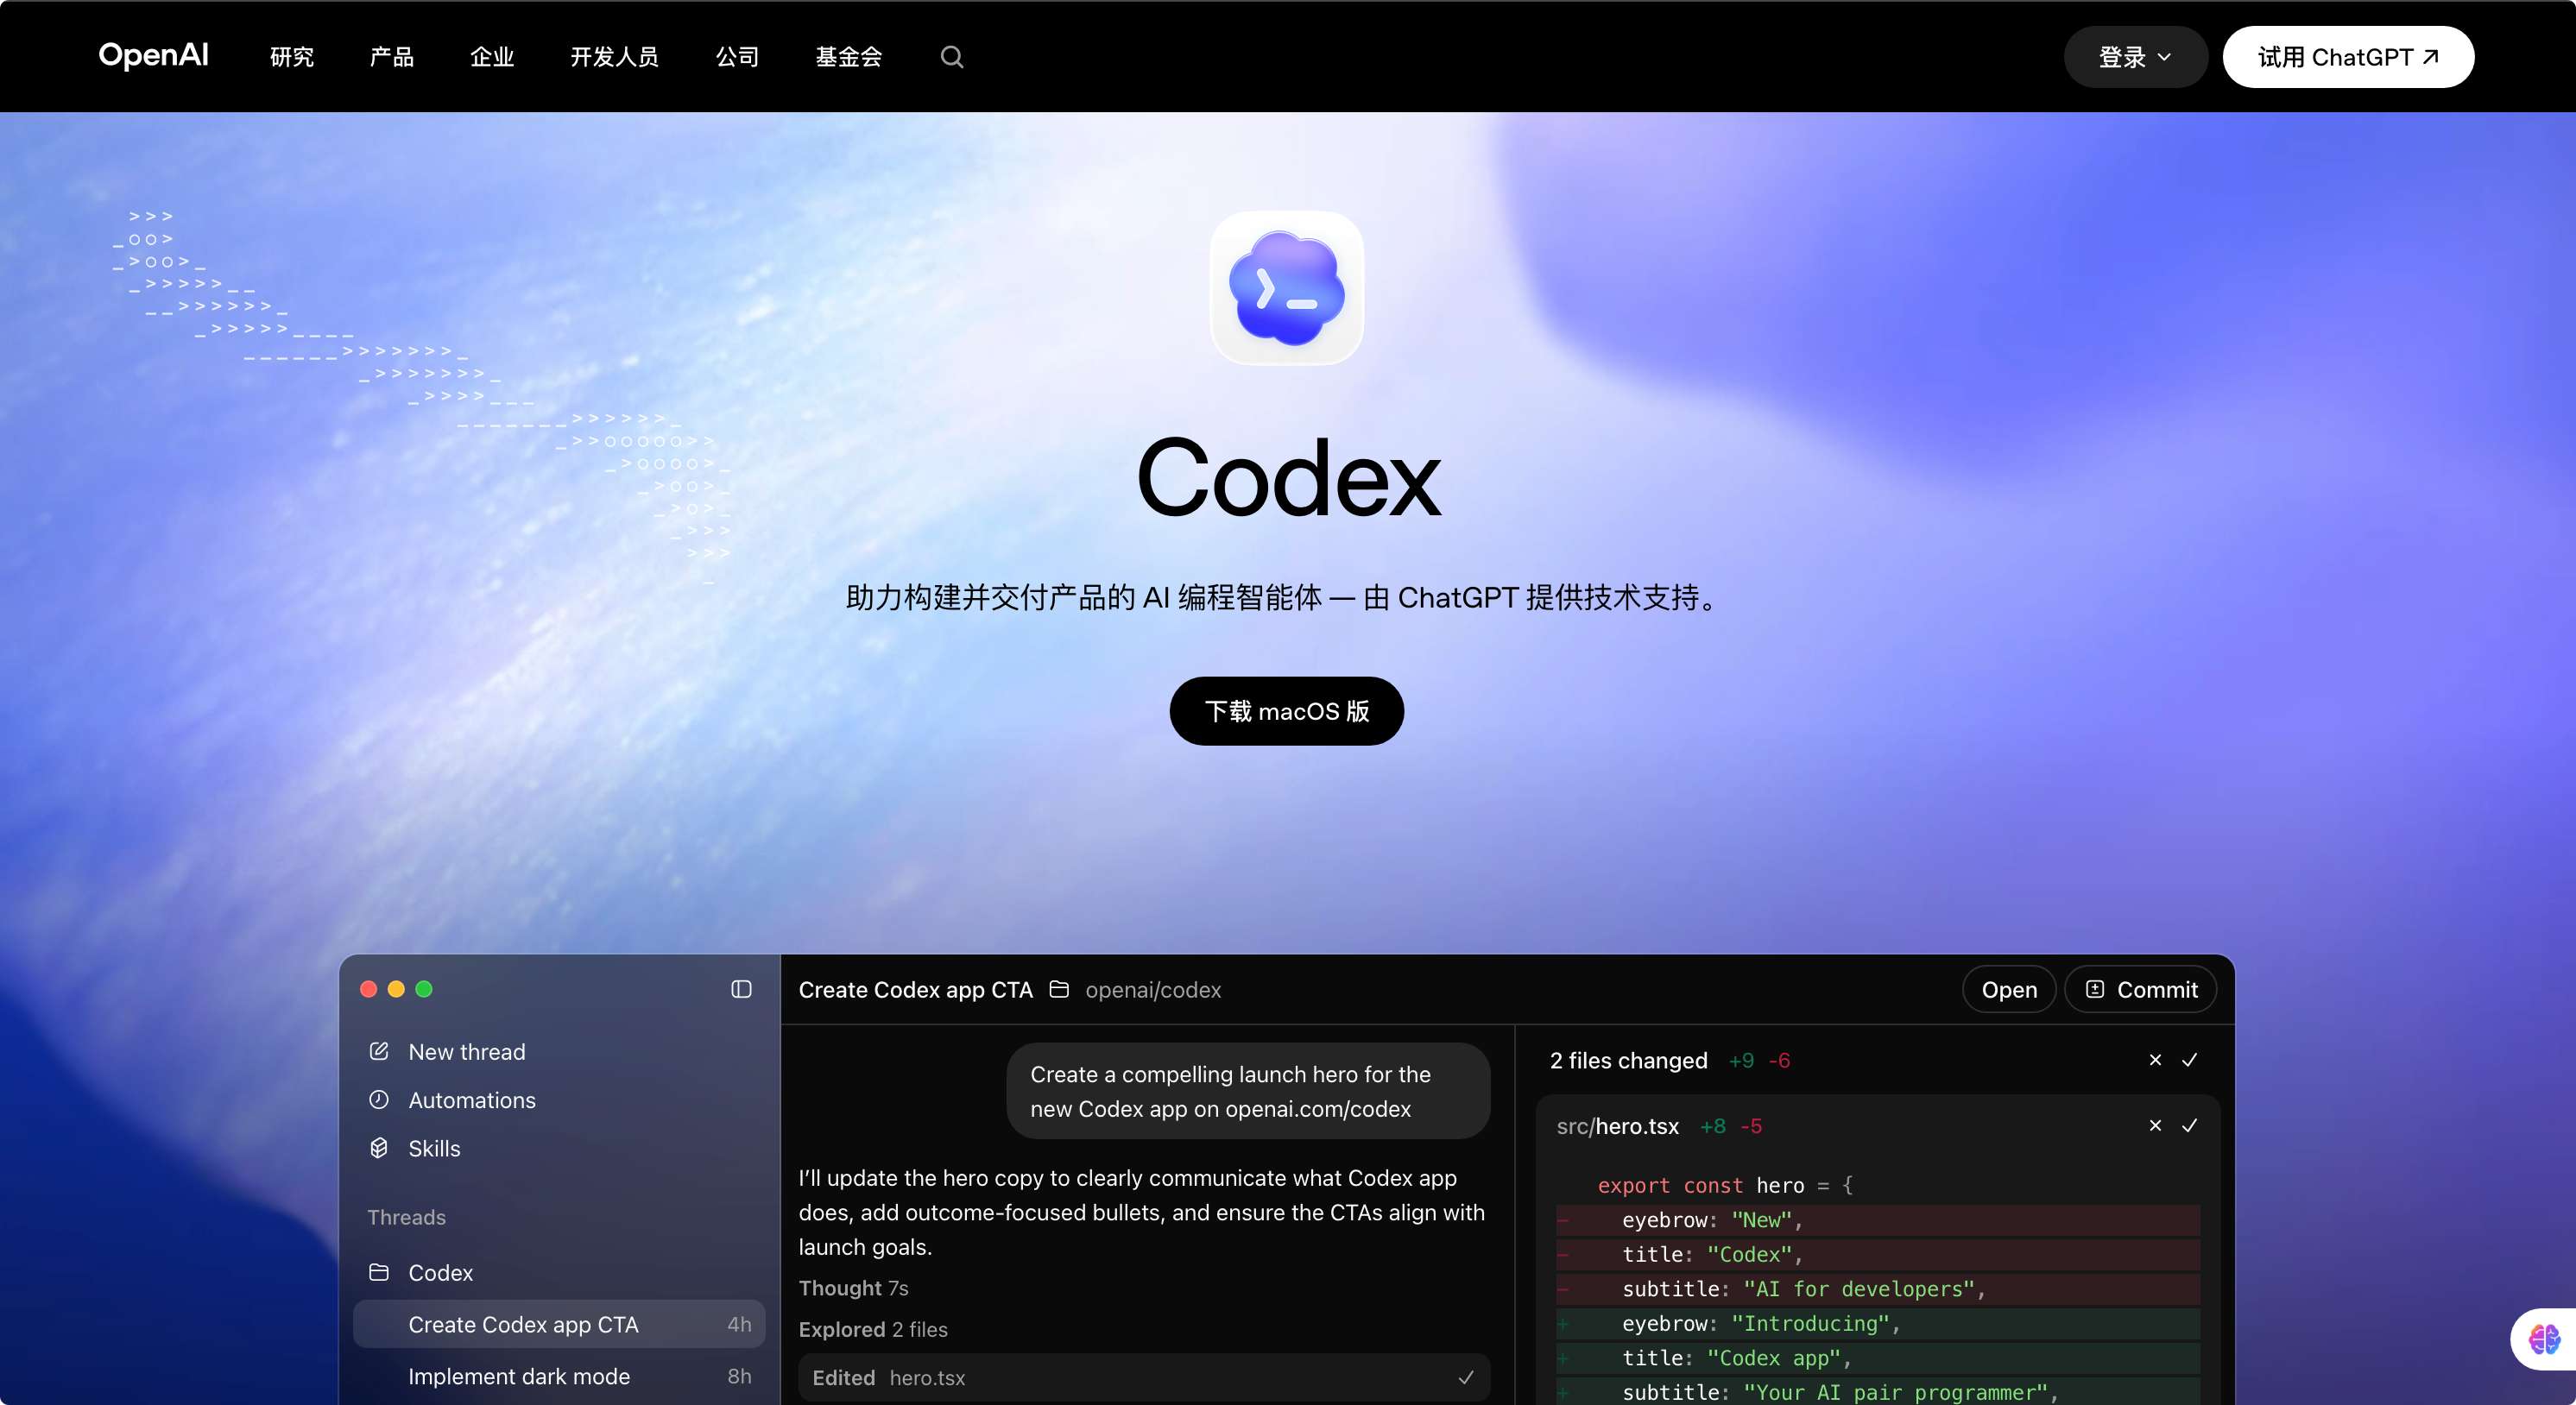
You can download it directly from the official website, with installation packages available for macOS and Windows. The App resembles a complete AI programming workstation more than the CLI.
You can start new conversations, search history, manage plugins, install skills, and configure automation. The official position is that Codex App serves as a multi-agent workstation, allowing multiple tasks with different agents to work in various projects, branches, and worktrees.
If you’re using Codex for the first time, I recommend starting with the App because while CLI is enjoyable, it’s not very beginner-friendly. The mix of directories, permissions, commands, context, sandboxing, and git status can be confusing.
The App provides a clearer workspace perspective.
The Third Entry is the IDE Plugin
For instance, using Codex directly in VS Code or Cursor is suitable when you’re already coding and want Codex to assist you with a specific file, bug, or component.
Taking VS Code as an example:
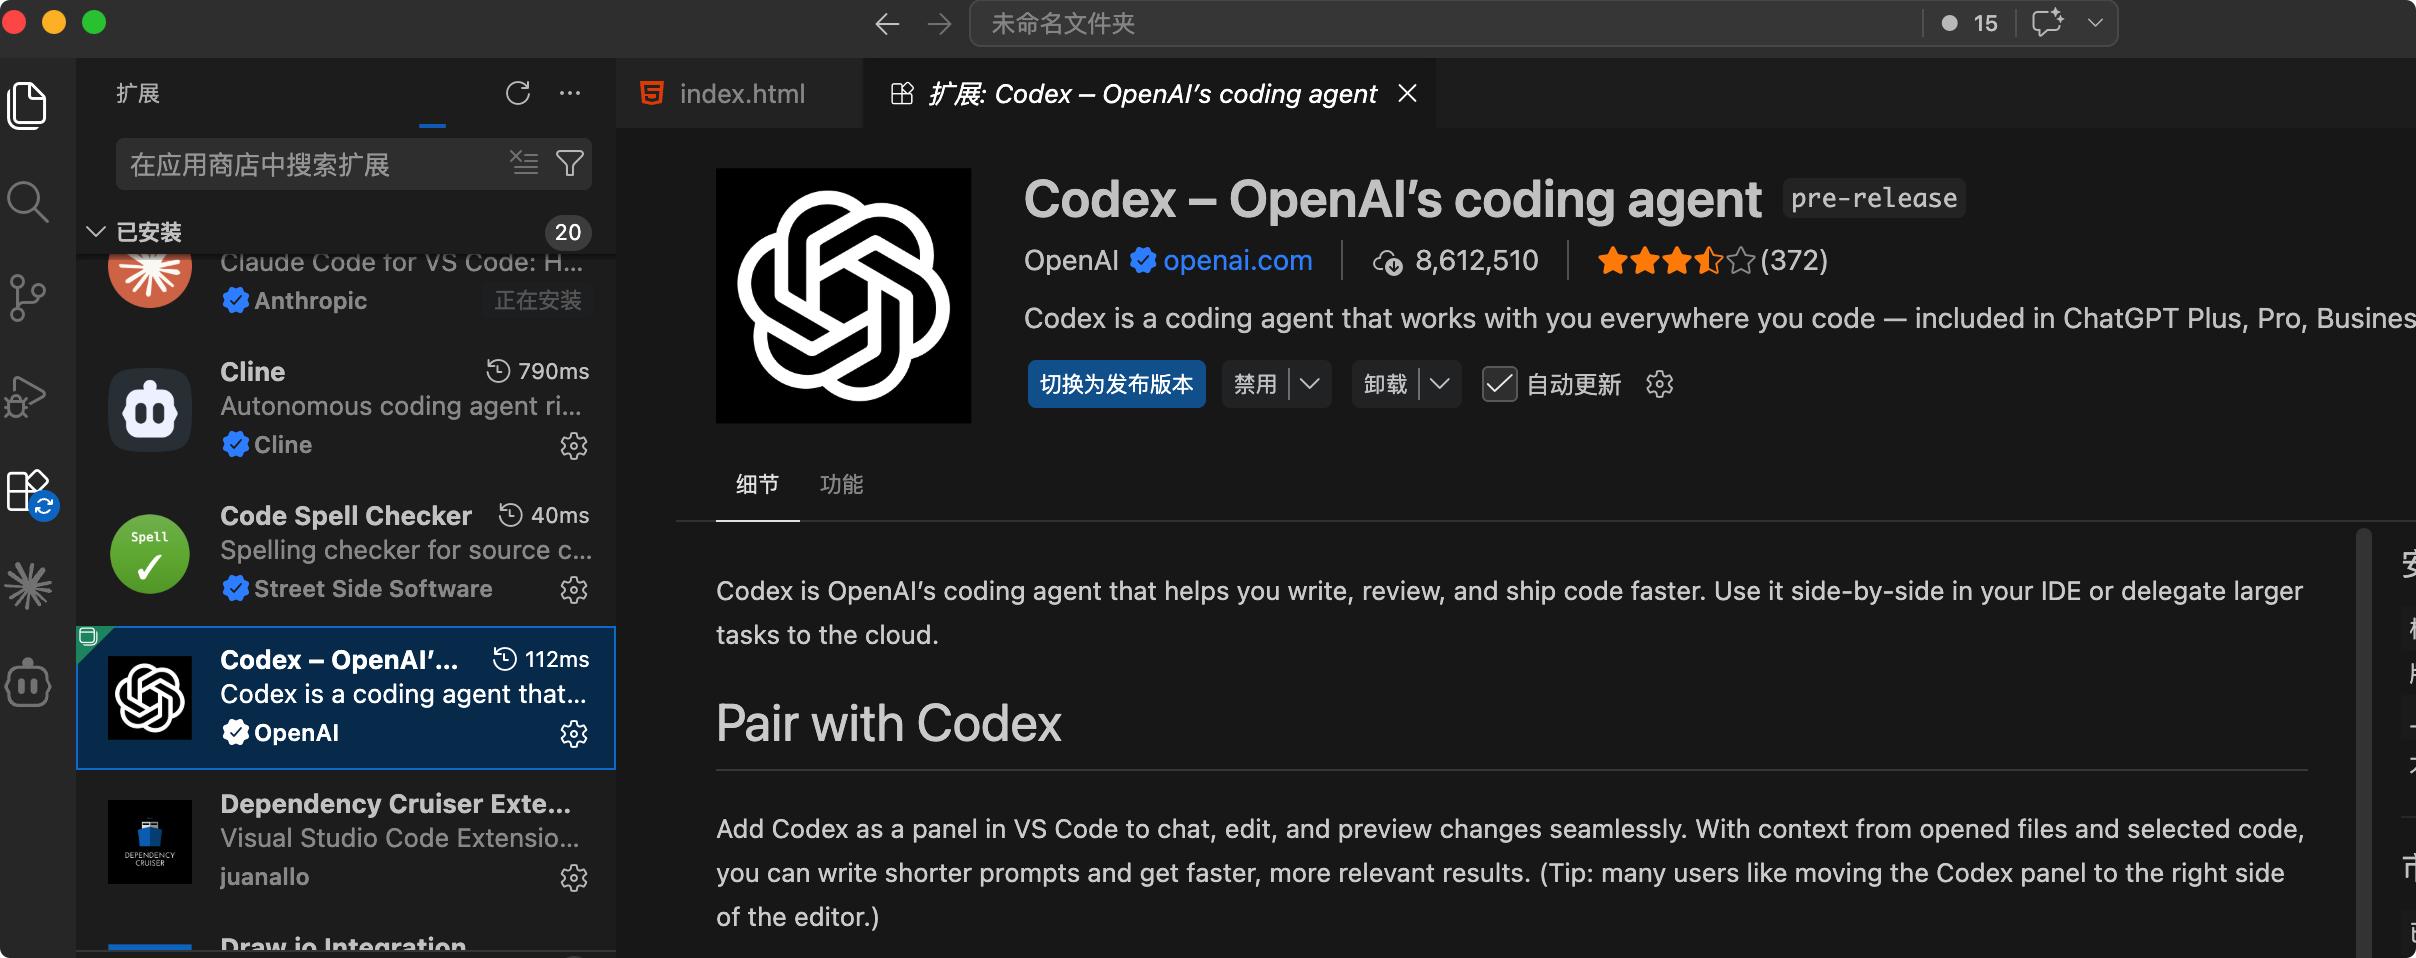
Simply search for Codex in the plugin marketplace and install the plugin.
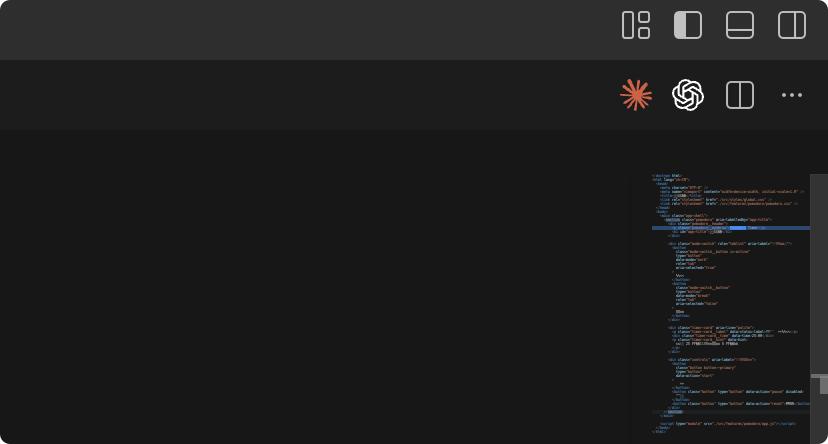
Then, open the corresponding project, and you’ll find the Codex icon in the upper right corner. Click it to access Codex’s workspace.
Also, note that:
If you have both Codex App and the Codex IDE plugin installed, their data can be shared.
Important Considerations When Using Codex
So, how should you start using Codex for the first time? I suggest not jumping into a core company project right away. Instead, find a demo project or a small project you’re not afraid to modify.
Ensure this project is already managed by git. If not, you can initialize it with the following commands:
git init
git add .
git commit -m "initial commit"
This ensures that if Codex mistakenly alters your code, you can revert it.
Additionally, when using Vibe Coding, it’s best to commit changes after Codex modifies the code, just in case. Therefore, proper version management is essential.
Moreover, during the first run of Codex, don’t let it write code. Just let it read the project. Here’s a common prompt I use:
Please do not modify any code yet.
You only need to read the project structure and tell me:
1. What is this project about?
2. What technology stack is used?
3. Where is the entry file?
4. What are the start and build commands?
5. If I want to add a new page, where should I start?
After this step, check if its understanding is accurate. If it misunderstands, correct it. Don’t rush to let it take action.
You can continue to ask:
What uncertainties do you have about your understanding of the project?
Please list them and indicate which files you need to check.
This method has proven effective, and I share it with everyone.
Permission Modes
Next, let’s discuss permission modes. Many people overlook this, but I believe it’s crucial, so I want to highlight it.
We know that Codex can read and modify your local code and files. This raises concerns about local file security. For instance, if the AI accidentally deletes an important file on your computer, that would be problematic.
To mitigate this risk, Codex’s permission modes can generally be divided into three types.
The First is Default Permission
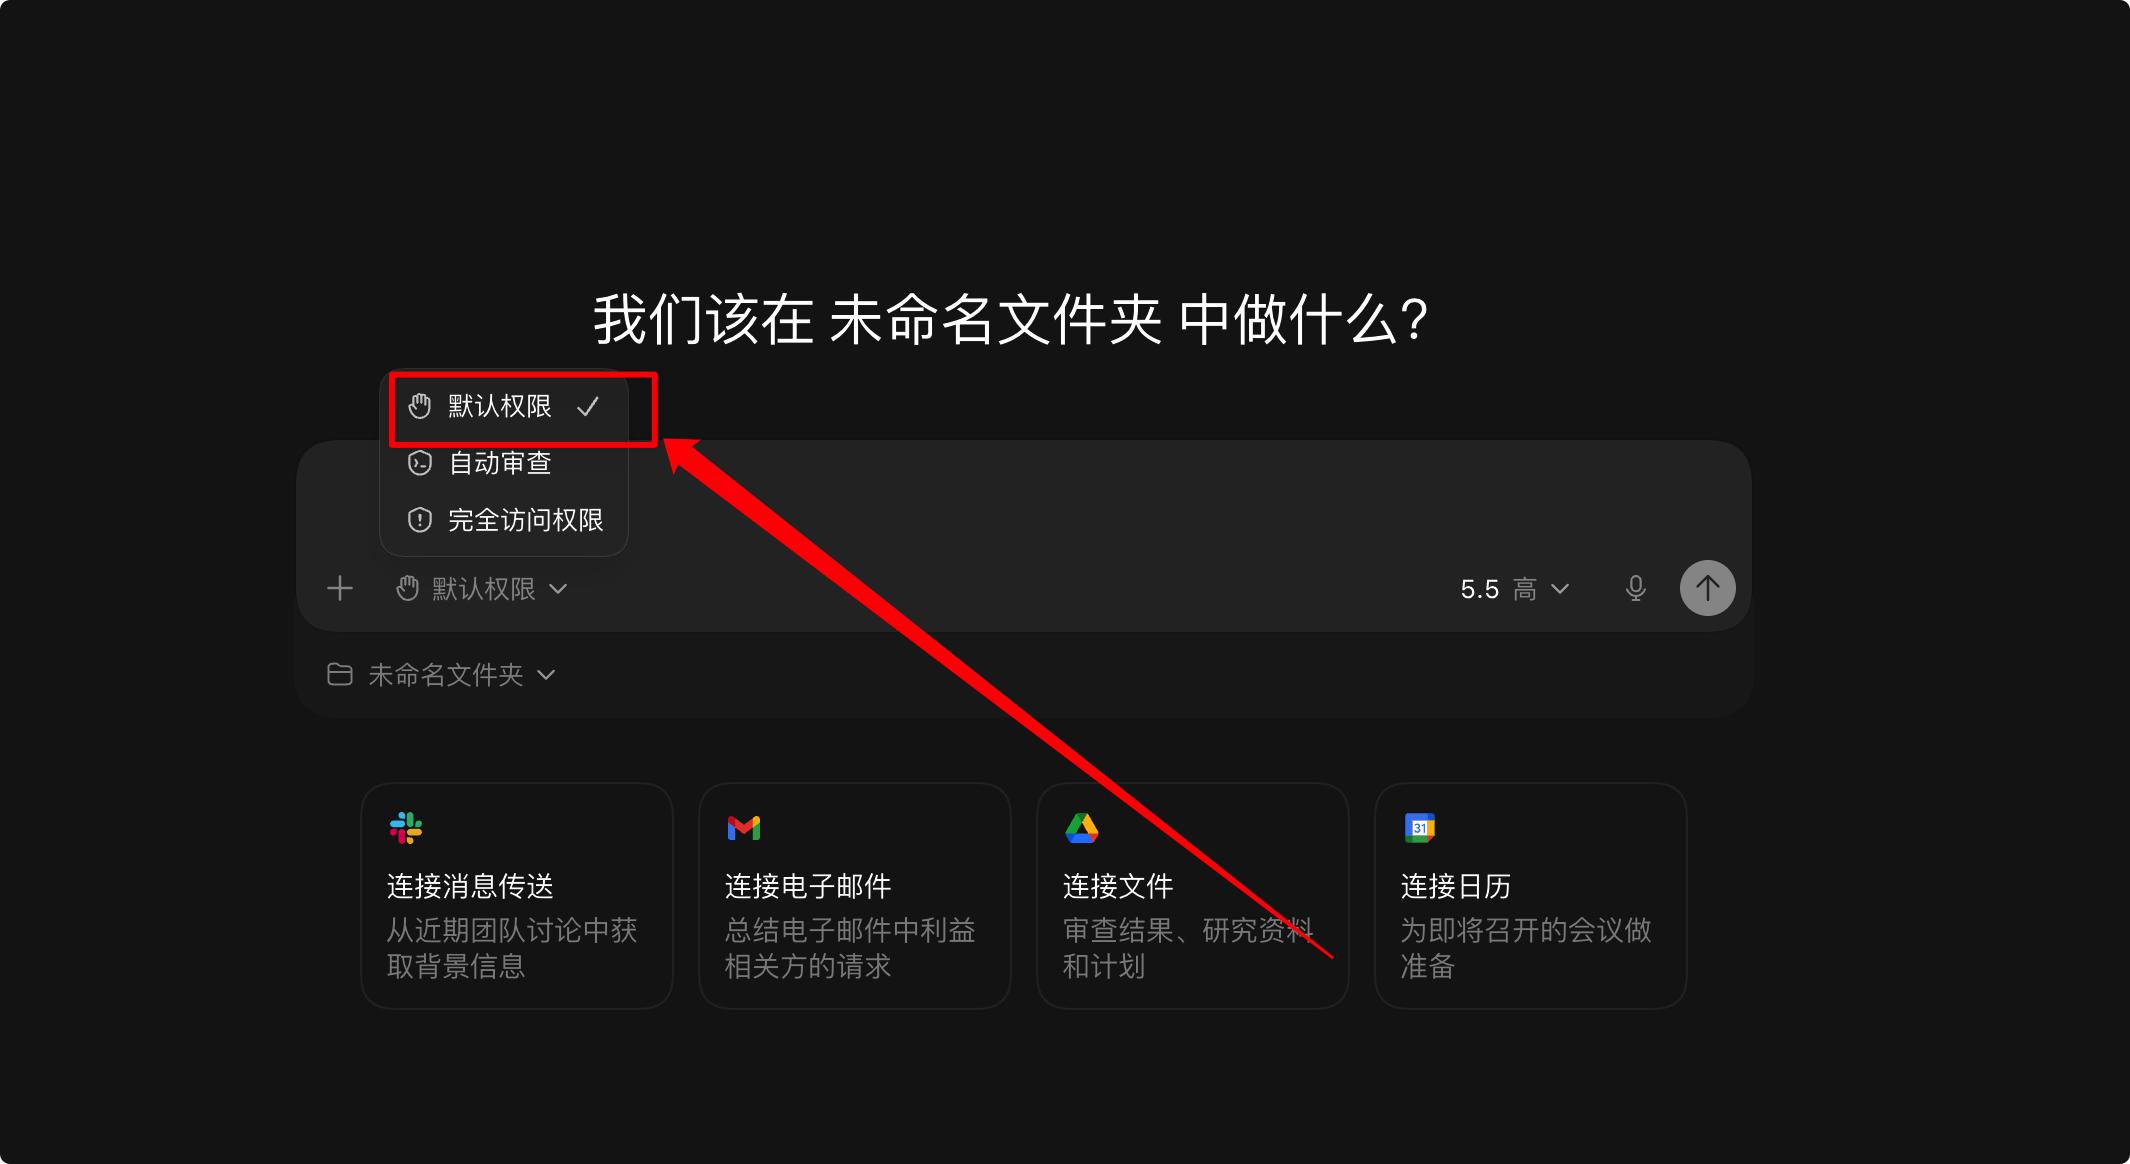
Default permission is the safest and most conservative. It can read files, suggest modifications, and propose shell commands. However, it requires your explicit approval before making any changes or executing commands. The benefit is safety, but the downside is that you cannot step away, as you need to confirm every action.
The Second is Automatic Review Mode
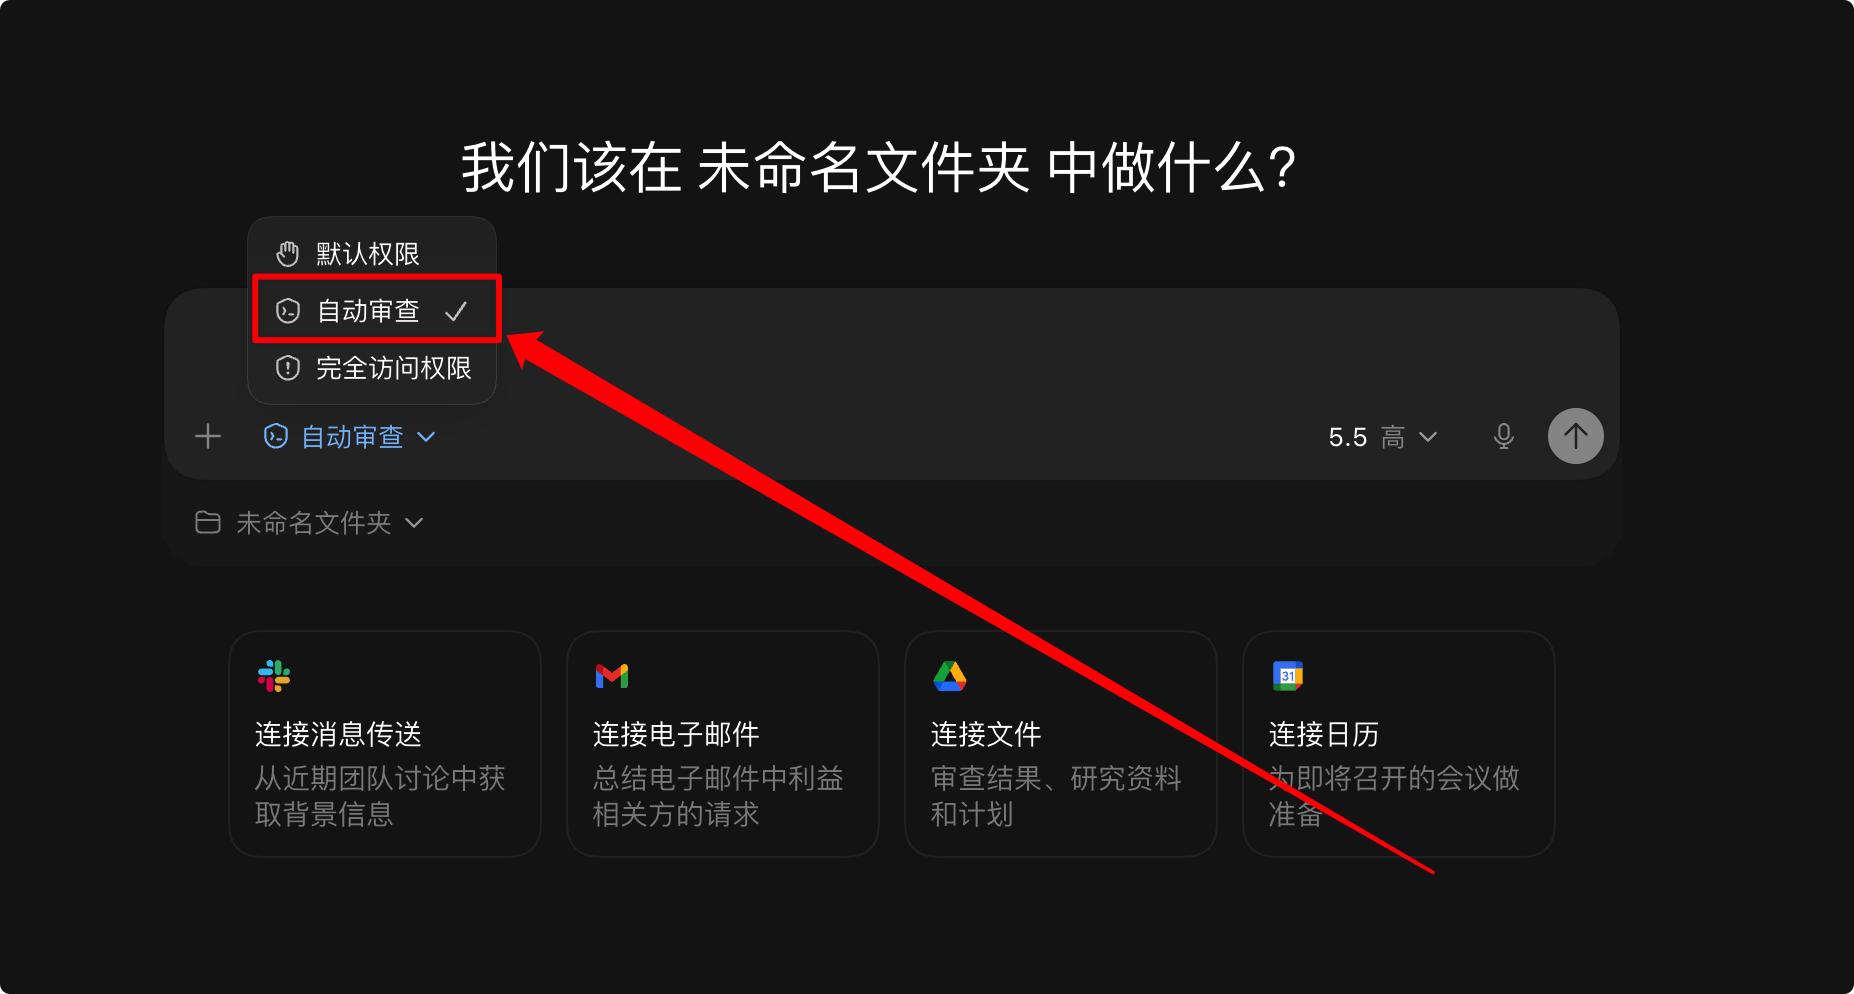
This mode is slightly more aggressive than default permission. In default permission, the AI must ask for your approval before making changes or executing commands. In automatic review mode, Codex first assesses whether the operation is safe. If it involves modifying ordinary code within the current project or executing common commands like installing dependencies, running tests, or building, it may proceed without your confirmation.
This increases efficiency. For example, if you ask Codex to fix a bug, it can read the code, modify it, run tests, and continue adjusting based on errors without needing your approval at every step. However, for high-risk actions like deleting files, accessing external directories, reading sensitive files, downloading from the internet, or executing dangerous commands, it will still pause for your confirmation.
Automatic review is suitable when you are familiar with the project and trust the current task, allowing Codex to perform multiple steps without needing to ask for approval each time.
The Third is Full Access Permission
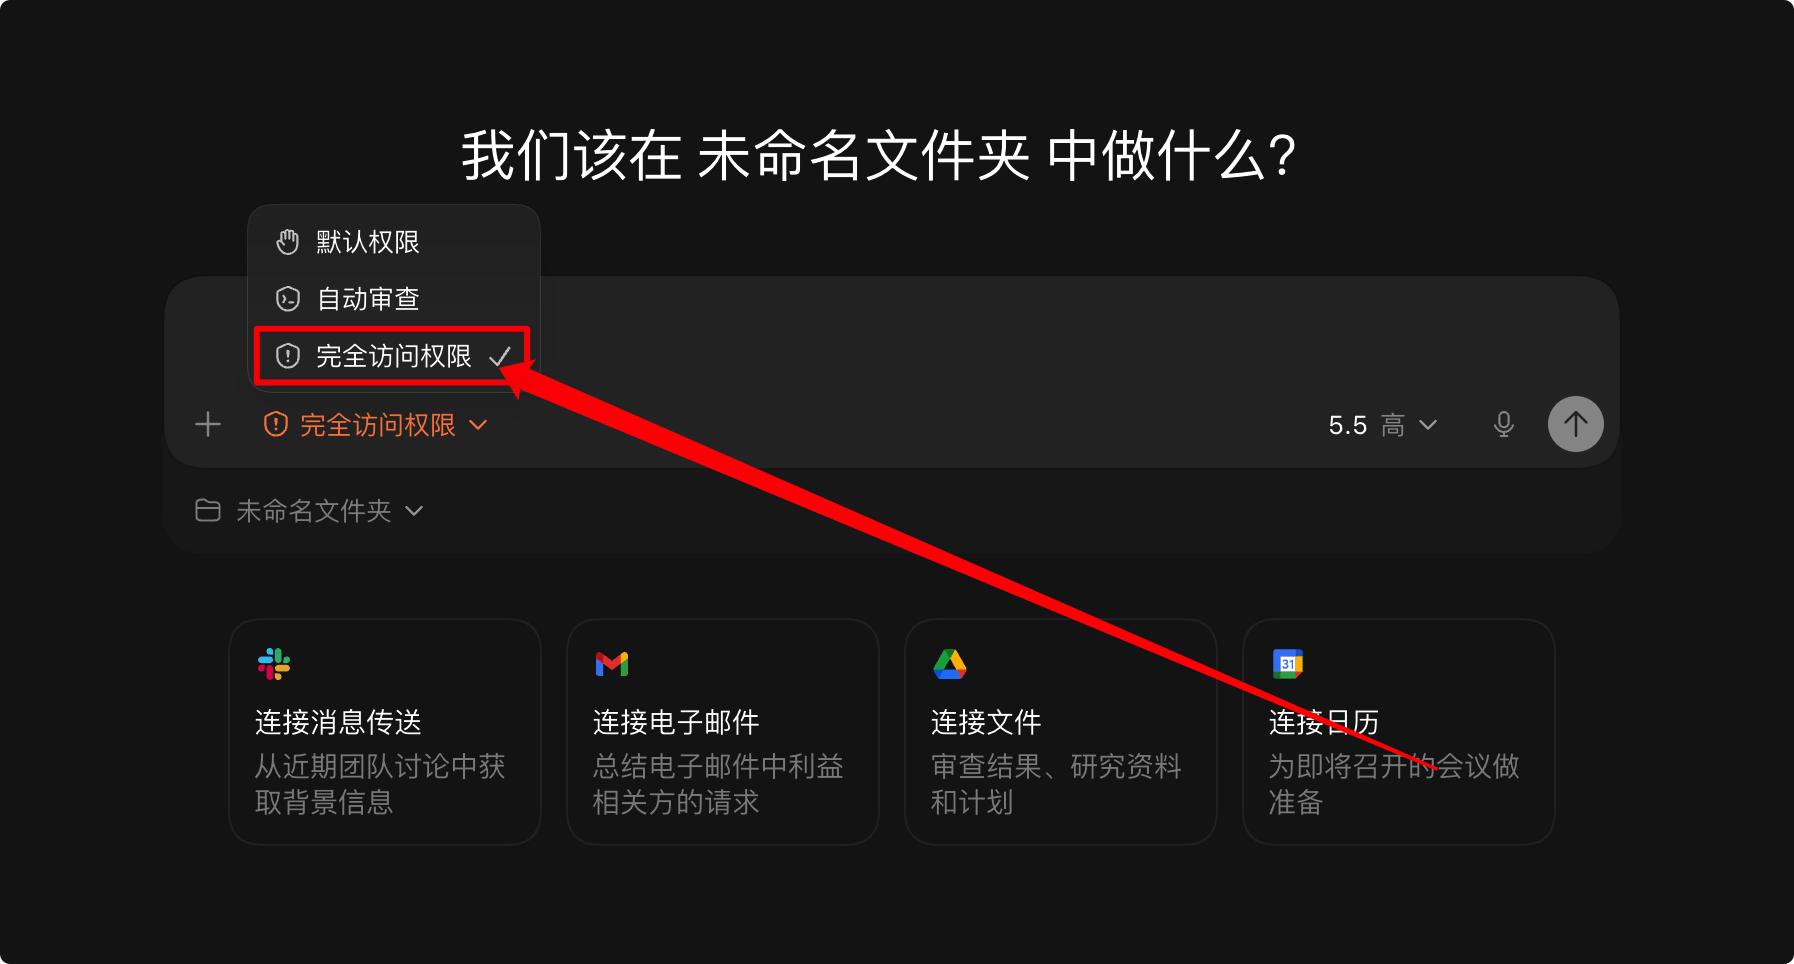
This mode requires caution. You can think of it as minimizing Codex’s restrictions. In this mode, Codex can freely read and modify files, execute commands, and even access external directories and networks. The benefit is maximum execution efficiency. For larger tasks like migrating projects, bulk refactoring, installing dependencies, running scripts, or modifying code across multiple directories, it can proceed without stopping for your confirmation, acting more like a true development assistant.
However, the risks are also the highest. If it misunderstands your intent or executes an incorrect command, it could impact your local files significantly. Therefore, I do not recommend using full access permission regularly, especially for unfamiliar projects, newly cloned open-source projects, core company projects, or projects containing .env files, keys, tokens, or configuration files.
A safer approach is:
- Use default permission for regular tasks.
- Use automatic review for efficiency.
- Temporarily enable full access permission only when you are very certain about the project’s safety, the task is clear, and you know what Codex will do next.
After use, it’s best to revert to default permission or automatic review.
In summary, these three modes can be simplified as follows:
- Default permission is the safest but requires frequent confirmations.
- Automatic review is more efficient, suitable for continuous tasks in daily development.
- Full access permission is the most powerful but carries the highest risk, only suitable for temporary use.
Best Practices for Using Codex
Now, let’s look at the best practices for using Codex in Vibe Coding. This process is divided into four steps:
- Step 1: Define the scope.
- Step 2: Specify the state.
- Step 3: Set acceptance criteria.
- Step 4: Be ready to interrupt at any time.
Let’s go through each step.
Comments
Discussion is powered by Giscus (GitHub Discussions). Add
repo,repoID,category, andcategoryIDunder[params.comments.giscus]inhugo.tomlusing the values from the Giscus setup tool.